Introduction
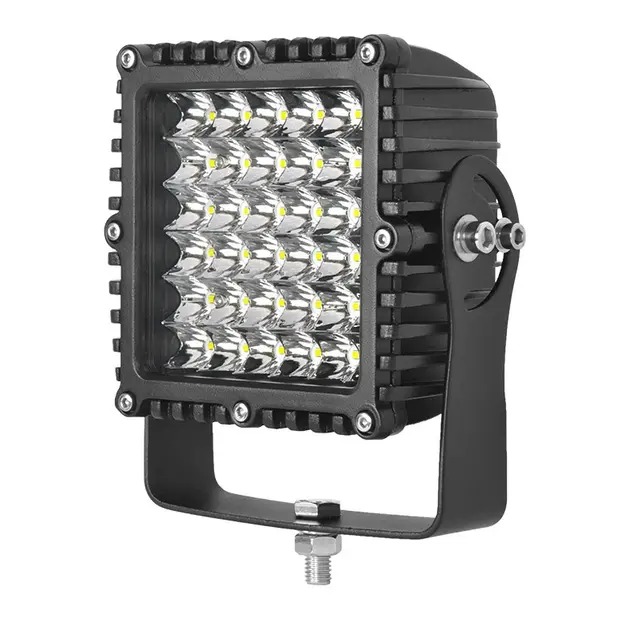
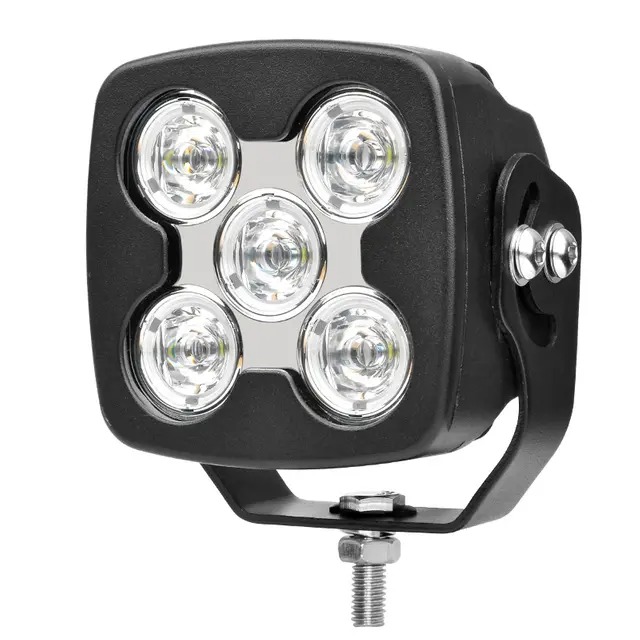
Working with a tractor in low-light conditions—early mornings, late evenings, or during storms—can significantly compromise safety and efficiency. That's where a tractor work light becomes essential. These lights are designed to provide focused illumination in the areas around your tractor, allowing better visibility when plowing, harvesting, grading, or hauling at night or in poor weather. Proper lighting reduces the risk of accidents and ensures operations are completed with precision.
However, simply installing lights isn’t enough—they need to be wired correctly to function optimally. Whether you’re upgrading halogen lights to LED or adding auxiliary lighting to the rear of your tractor, understanding the wiring process is essential. This guide will walk you through every step, from planning your lighting layout to connecting wires safely.
Tools and Materials Required for Wiring Tractor Work Lights
Before you begin, it’s important to gather all necessary tools and materials. A well-organized setup ensures smoother wiring and minimizes the chance of errors or hazards. Here’s a detailed table to help you prepare:
| Tool/Material | Purpose |
| Work lights (LED or halogen) | Primary light source |
| Toggle switch or rocker switch | To control light power manually |
| Inline fuse holder + fuse | Protection against electrical overload |
| Wiring harness (or wire rolls) | Connecting power supply and lights |
| Relay (12V, 30/40A) | Safe distribution of current |
| Heat shrink tubing or electrical tape | Insulation for wiring joints |
| Crimp connectors or soldering kit | Secure wire connections |
| Multimeter | To test voltage and continuity |
| Drill and bits | For mounting switches or routing cables |
| Screwdrivers, pliers, wire strippers | General installation tools |
Always double-check that your tractor work light system matches your tractor’s electrical specifications—typically 12V or 24V. Using incompatible components can damage both your lighting system and the tractor’s electrical circuitry.

Step-by-Step Guide: Wiring Work Lights on Your Tractor
Now that you're equipped, let’s break down the wiring process into clear and manageable steps. Take your time, follow safety procedures, and refer to your tractor’s manual if needed.
Step 1 – Determine Light Placement and Mount
Decide where your work lights will be installed. Common positions include:
On the front grille or bumper (for forward visibility)
On the roof or cab corners (for wide area coverage)
On the rear frame (for reverse operations)
Secure the lights using brackets and bolts. It’s crucial to choose elevated, stable mounting points that won’t obstruct your vision or other components.
Once positioned, route your wires toward the battery compartment or fuse box, using cable clips and protective tubing to avoid loose hanging or rubbing against moving parts. Keeping wires tidy is not just about aesthetics—it prevents premature wear and electrical shorts.
Step 2 – Install the Switch and Relay
Your switch is the manual control for your tractor work light system. Mount it in an easily accessible location on your dashboard or cab panel. Use a relay between the switch and light circuit to handle high current loads safely.
Common Wiring Mistakes to Avoid
Incorrect wiring can damage both your tractor and lighting system. Here are some of the most frequent errors—and how to avoid them:
Using the Wrong Gauge Wire
Work lights draw significant current, especially if you’re installing multiple units. Using thin wires can cause overheating and voltage drops. Always choose wire gauge based on total wattage and length. For most setups, 14 AWG or 12 AWG is suitable.
Skipping the Fuse
Fuses are essential. They protect your tractor’s electrical system from surges or shorts. Never connect lights directly to the battery without an inline fuse (rated slightly higher than your total current draw).
Poor Grounding
A solid ground connection is vital for current flow. Ensure each light is grounded properly to the chassis or directly to the battery’s negative terminal.

FAQ – Frequently Asked Questions About Tractor Work Light Wiring
Can I wire work lights directly to the battery?
Yes, but only through a fused relay system. Direct wiring without protection can cause a fire hazard or drain your battery.
Are LED lights better than halogen for tractors?
LED lights are more energy-efficient, produce less heat, and last longer. They also offer better brightness-to-power ratios, making them ideal for tractors.
If you’re comfortable with basic electrical work and follow instructions carefully, you can do it yourself. However, complex setups or commercial tractors may require a certified electrician.
What if my tractor is 24V and the lights are 12V?
Never connect 12V lights to a 24V system directly. Either install a voltage converter or purchase 24V-compatible lights.
Maintenance Tips After Installation
Once your tractor work light system is up and running, it’s important to maintain it regularly to ensure consistent performance.
Check Wiring for Wear and Tear
Inspect wiring every few months, especially after heavy use. Look for:
Apply dielectric grease to exposed metal parts to prevent rust and moisture damage.
Clean Light Lenses Regularly
Dust, mud, and insects can drastically reduce light output. Clean the lenses with a damp cloth and avoid using abrasive materials that may scratch the surface.
Test the Switch and Relay
Over time, switches and relays can wear out. Test the toggle regularly and replace any part that seems faulty to avoid unexpected lighting failures during fieldwork.
Conclusion
Installing a tractor work light system doesn’t have to be complicated. With proper planning, quality components, and careful wiring, you can dramatically improve your tractor’s nighttime visibility and operational safety. This investment pays off in both productivity and peace of mind.
Take the time to double-check each connection, use protective components like fuses and relays, and don’t rush the job. After all, good lighting is more than just convenience—it’s a critical part of your agricultural toolkit.


